Come learn how to do your makeup right in this easy peasy makeup tutorial for beginners!
The first time I ever put makeup on my face was for a wedding.
I still remember the teenage me siting with her eyes wide open as my cousin slapped on things after things on my face.
I had no clue what she was doing, but since her makeup was pretty much flawless, I let her do her job and loooved the results.
My makeup skills have since then progressed a lot, but I was a beginner once, just like every other woman.
None of us start out as a makeup expert; there’s a first time for everything.
Since you’ve tumbled upon my humble beauty/skincare blog, and this post in particular, I’m assuming you’re here to seek makeup guidance as a beginner.
I am all too happy to help!
In this post, I’ll give you the correct makeup routine that you can try as a newbie without messing up the order.
I will also be recommending my favorite beginner-friendly products alongside that you can try out.
You’re going to come back to this post again and again. Let’s go!
Makeup Steps For Beginners
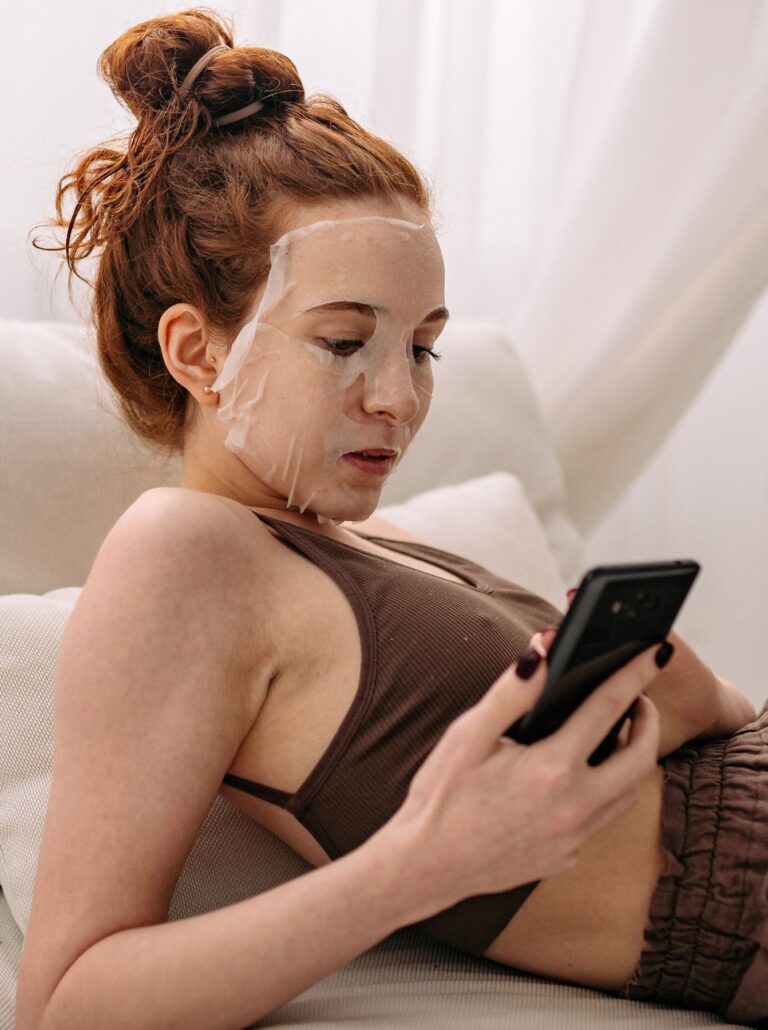
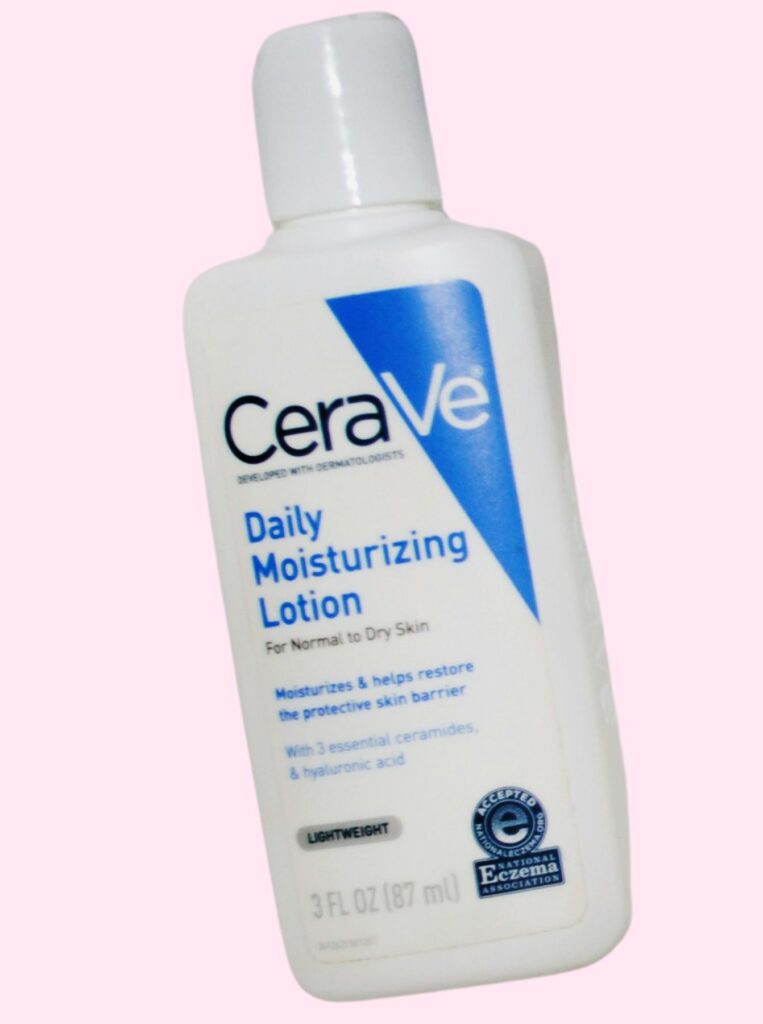
1. Moisturizer
Okay, lesson no. 1 for you — Every good makeup starts with skincare, and the very first thing you want to do is moisturize your face (after cleansing, of course).
Moisturizer is your makeup’s best friend, because:
a) It will protect your skin from any harsh ingredients of makeup.
b) It will make everything smoother and stop your skin from looking dry or patchy later.
Use a moisutrizer that is well-suited for your skin type and apply it evenly all over your face. Wait just a few seconds to let it soak in before moving on.
My choice: CeraVe daily moisturizing lotion
2. Sunscreen
Lesson no. 2 — Don’t skip your sunscreen, never ever. I seriously cannot stress this enough.
Sunscreen protects your skin from sun damage, and using it regularly is the best anti-aging trick in the book.
Use a broad-spectrum SPF 30 or higher (I use SPF 50). It’s best to use something lightweight and makeup-friendly.
My recommendation: Nutrogena hydro boost sunscreen SPF 50
3. Primer
Okay, now we’re diving into the real makeup routine, so start paying attention.
Primer isn’t something that’s considered important, but I think it makes a real big difference.
What does it do? It basically creates a smooth surface on your skin, making it very easy for makeup products to glide on top and last all day.
You just take a small amount of it and gently rub it into your skin, mainly on the areas where makeup tends to wear off, like your T-zone (forehead, nose, chin).
Now, your face will be like a smooth canvas that you can easily draw upon. Fun, right?
Oh, btw, primer has no color to it. Its main purpose really is to fill up your pores and even out your skin texture, and for this reason, it is my fav makeup product (no kidding, seriously, I love how easy it is).
You can go for: e.l.f. power grip primer

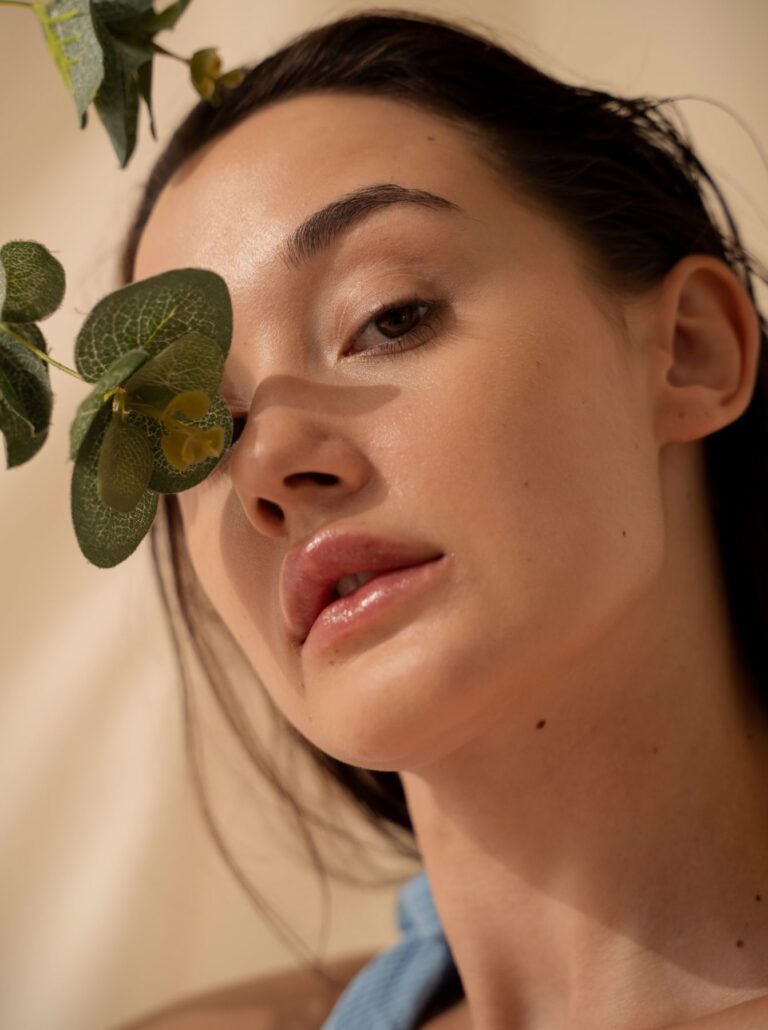
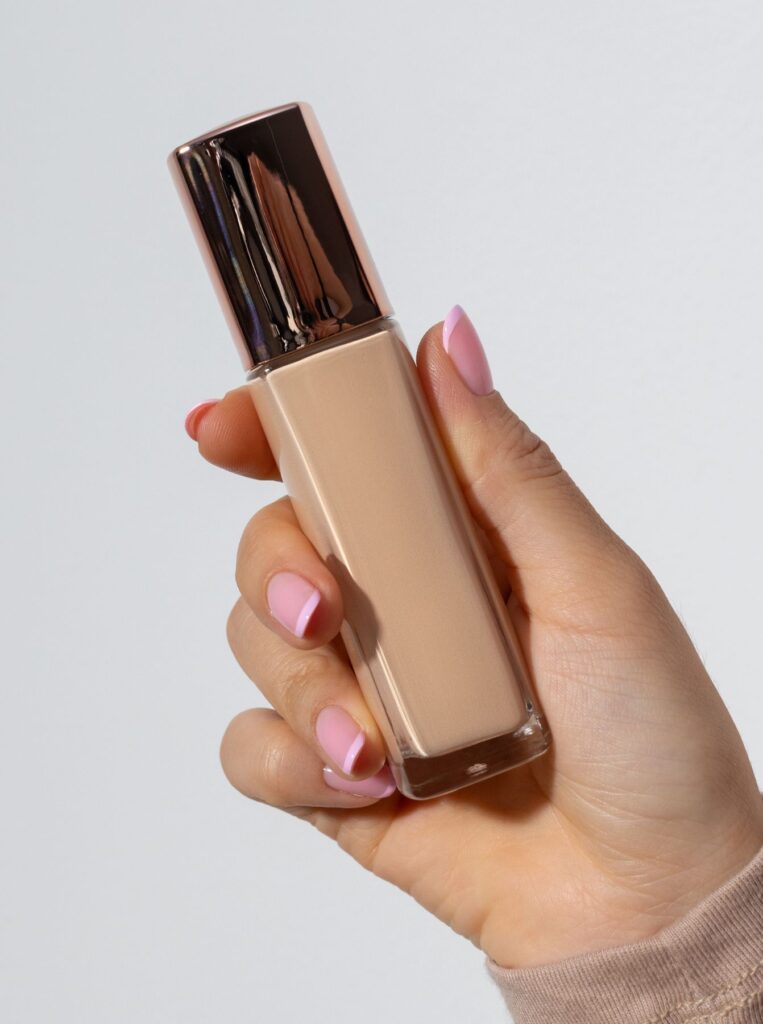
4. Foundation or BB Cream
Now that your skin is prepped, it’s time for some coverage, which we do with a foundation.
The purpose of a foundation is to even out your skin tone. Some places your skin is dark, some places its light, but with a foundation, you get to make it all look same.
If you’re brand new to this, a BB cream or tinted moisturizer is a great place to start. It’s lightweight, super forgiving, and gives your skin a nice, natural finish.
Recommended: Maybelline dream fresh BB cream
But, if you want a bit more coverage, you can go for a liquid foundation. It’s important to pick one that matches your skin tone as closely as possible.
Test the product on your jawline or neck, not your hand.
Use your fingers, a damp sponge, or a brush, whatever feels easiest, and don’t worry about getting it perfect.
You just need to blend it well, especially around your jaw and hairline.
Popular choice among beginners: Maybelline fit me foundation
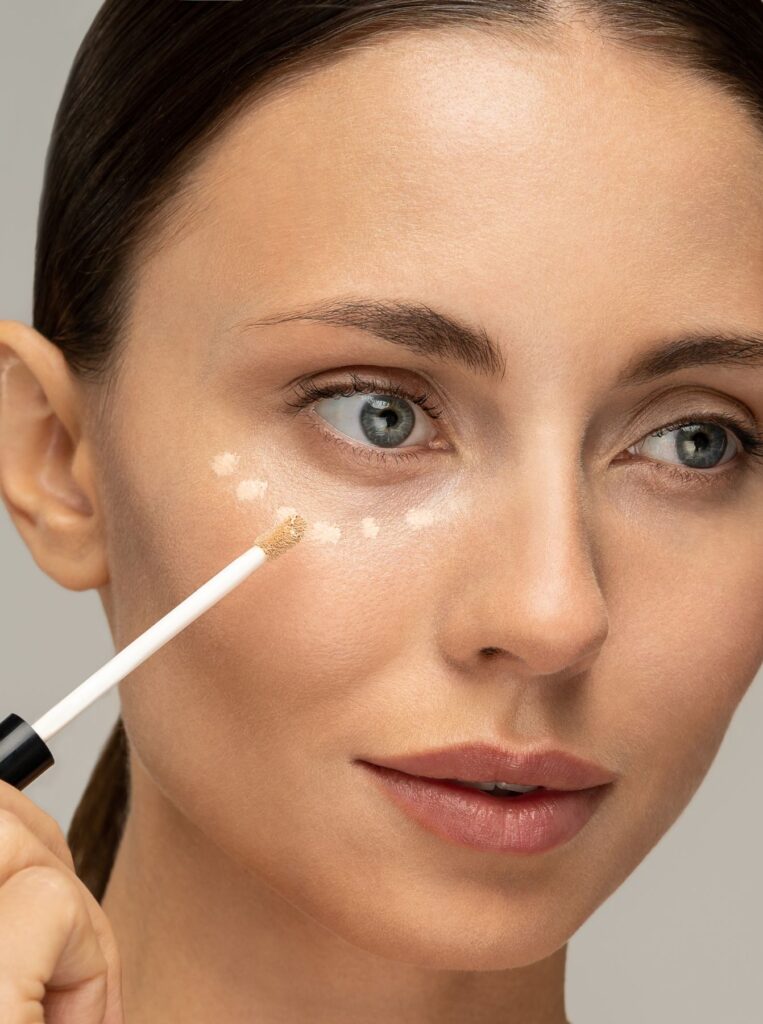
5. Concealer
So, a concealer does as the name suggests. It conceals any marks, scars, dark sports, and blemishes on your face.
As a beginner (or even a regular), I do not suggest covering your full face with concealer. Just do it under the eyes, around the nose, on blemishes, and areas that appear darker.
Dab a small amount and gently blend it out with your finger or a sponge. You’ll look more awake and refreshed instantly.
Go for: Maybelline instant age rewind eraser
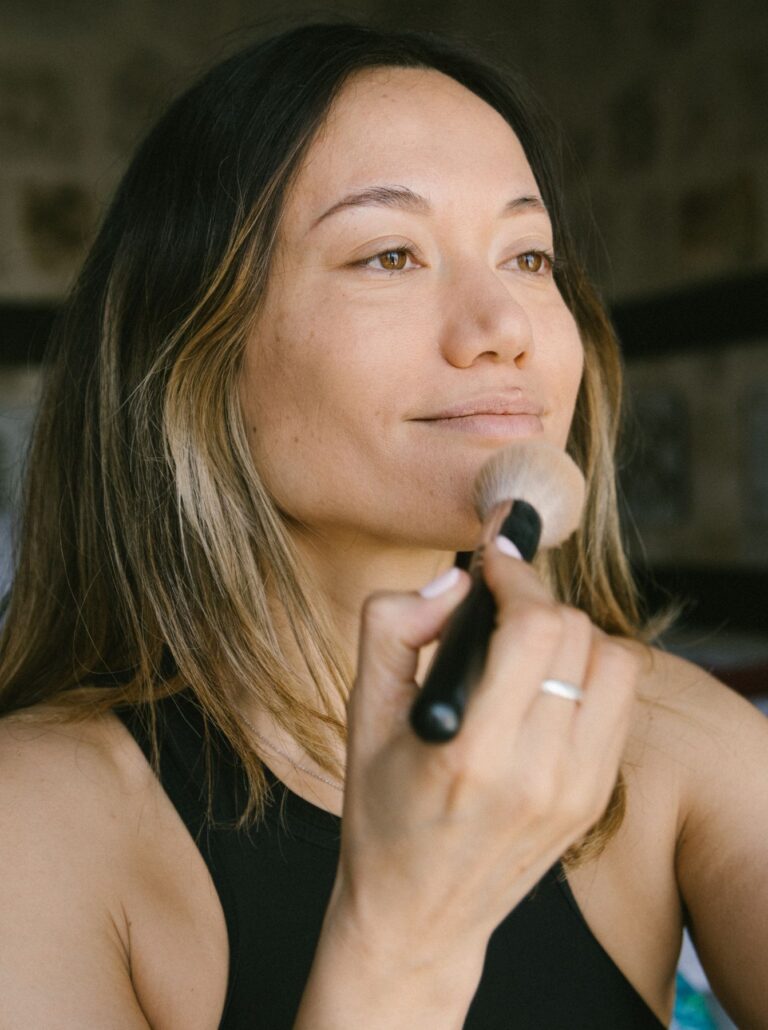
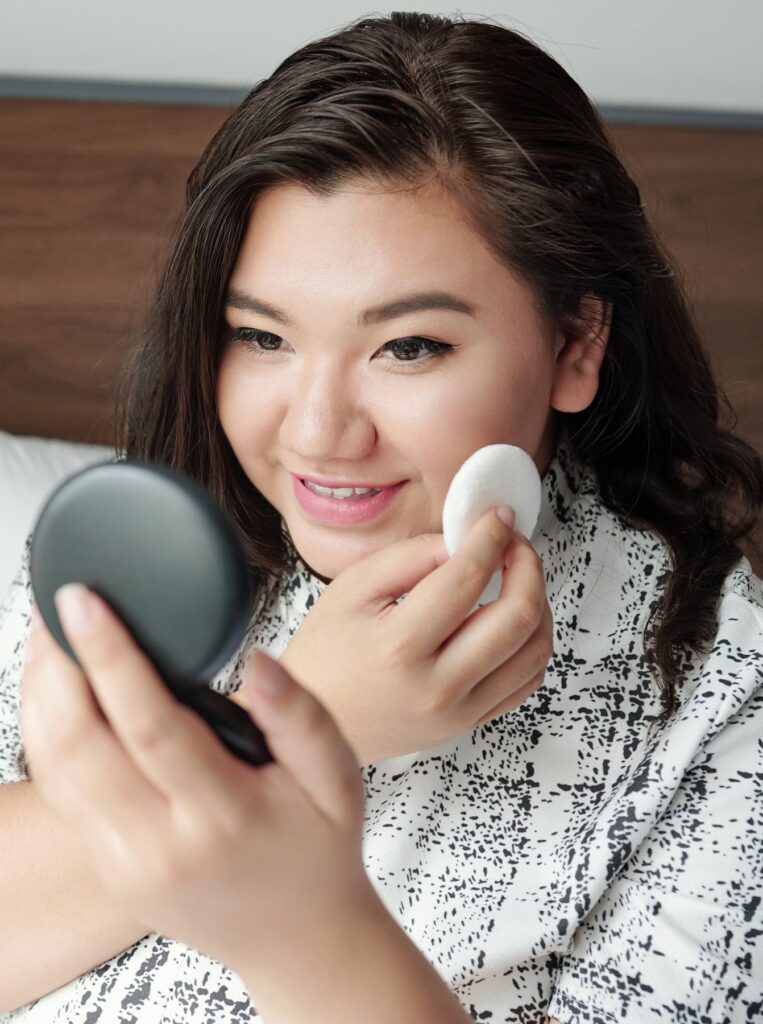
6. Set It With Powder (Optional)
Use a powder if your skin gets oily or you need your makeup to stay put longer, otherwise skip.
Powder helps set your makeup, control shine, and it really enhances the overall finish of your makeup.
You can use a makeup brush or cotton pad for this.
But do this for sure — after filling your brush with powder, dust it off on the side of the powder box before touching the brush on your face.
This will get rid of any excess powder and your face won’t look cakey.
Focus on your T-zone (forehead, nose, chin) or wherever you tend to get shiny.
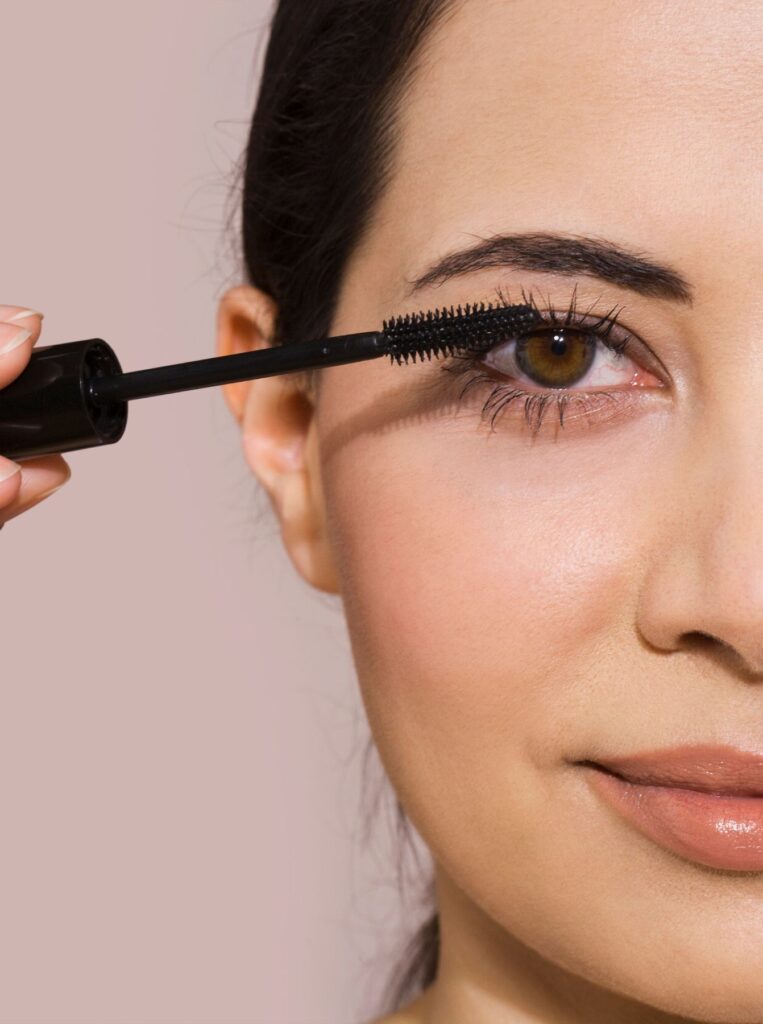
7. Mascara
Now comes the most fun and eye-opening (literally) part — Mascara for your eyes!
This is the step that truly opens up your eyes.
It’s the one thing in this whole routine that you can do as a solo makeup when you’re in a mood for a no-makeup look and still look like a queen. That’s the magic of mascara!
Start at the base of your lashes and wiggle the wand upward. Do a couple coats on the top lashes and a light one on the bottom if you want.
What to pick: L’Oréal voluminous lash paradise mascara
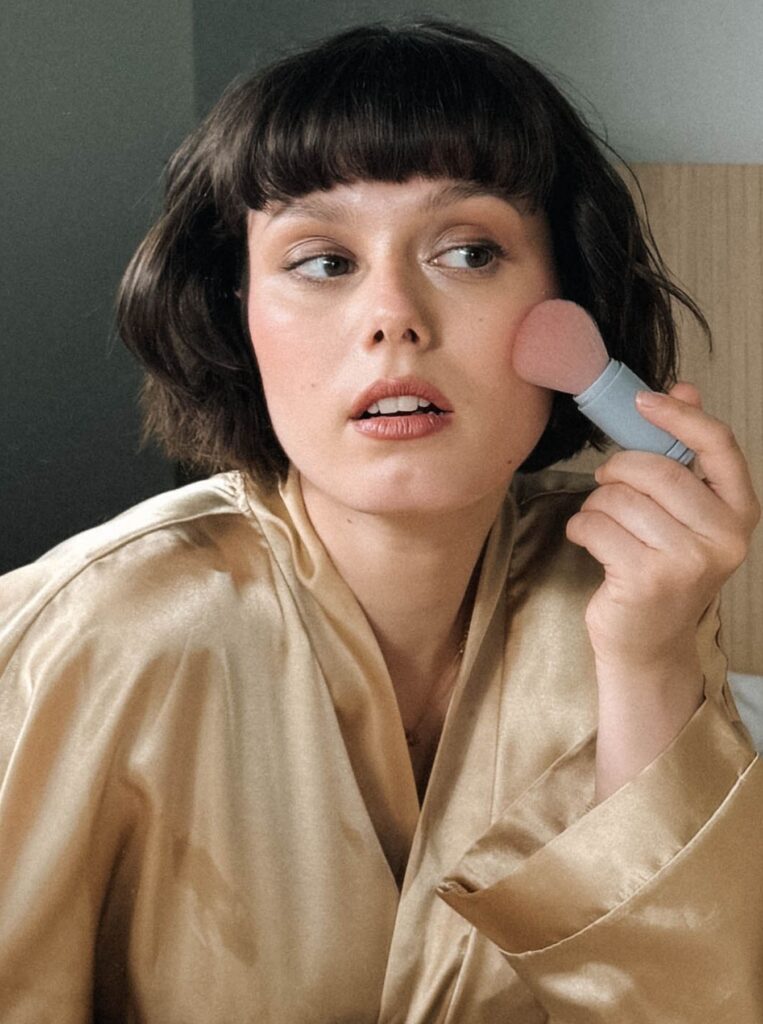
8. Blush
When my cousin was doing my first ever makeup on my face, I asked her if we could skip the blush, and she screeched so loud my ears rang for hours.
Lesson learned, ma’am. Blush is important. Without it, your face would have a ghosty appearnace.
But with blush, your cheeks look healthy and glowy, like they actually have blood rushing inside instead of being dead, lol.
Cream blush is super beginner-friendly. Just dab a little on the apples of your cheeks (that’s the part that pops up when you smile) and blend it out with your fingers.
You can also use powder blush with a soft brush. Just don’t go overboard, yeah?
My personal fav: Milani baked blush (in color Luminoso)
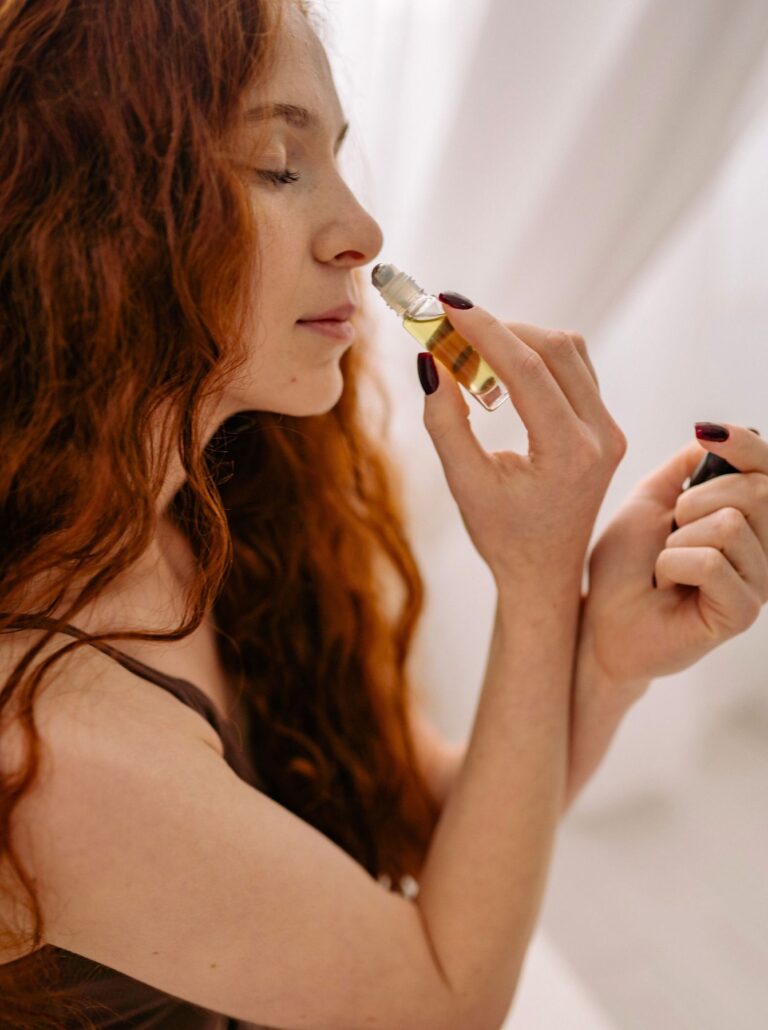
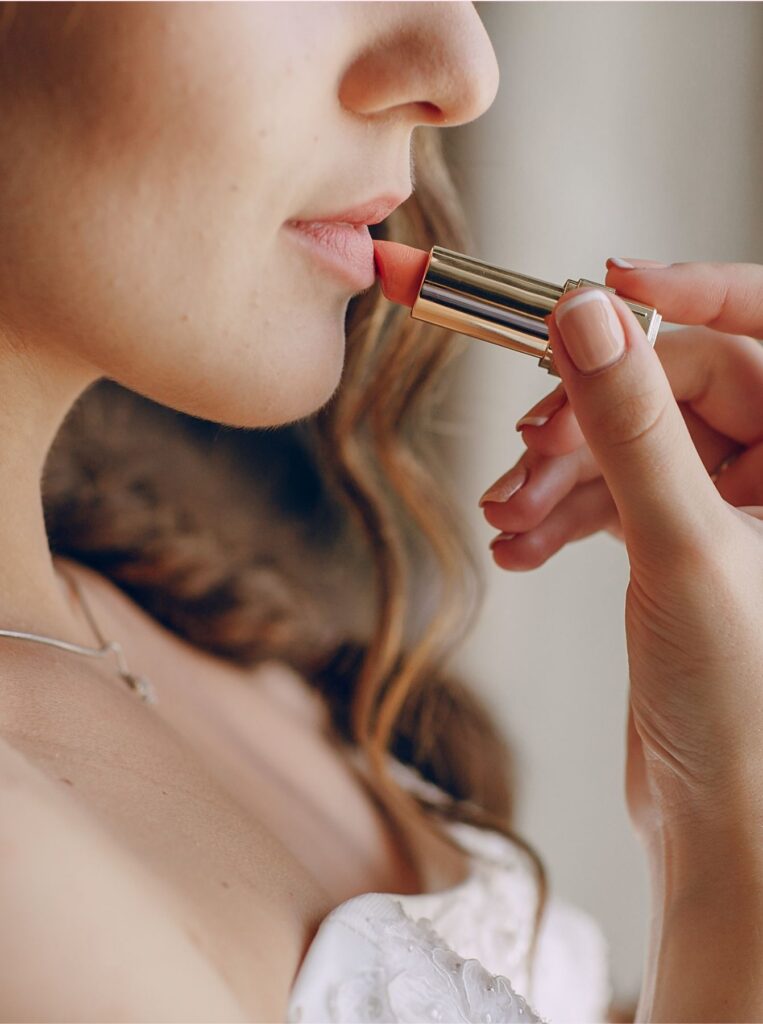
9. Do Your Lips
You can keep it simple here. A tinted lip balm, lip gloss, or nude lipstick is perfect for everyday wear.
If you’re feeling bold, you can totally go for a statement lip color. It all depends on your mood.
Lip products are honestly the most fun to experiment with, so don’t be afraid to try new shades and new products like lip gloss and colored lip balms.
In case you’re looking for a recommendation with this one as well, you can try Maybelline’s creamy matte lipstick. Their nude nuanace shade is my favorite of all time.
10. Setting Spray
If you want your makeup to stay fresh for hours, give your face a few spritzes of setting spray.
It will keep everything blended together and stay in place. That’s why it’s called a setting spray, you know.
Oh, and it feels really nice too. Like a wholesome final ritual to wrap things up and feel fresh as a rose bud.
Try: e.l.f. stay all night micro-fine setting mist
And That’s It!
Please note that I have excluded steps like eyeshadow, eyeliner, brows, and highlighter. Reason being that as a beginner, I really don’t think you should experiment with these steps yet.
It’s better to master the basic makeup routine before you try to play around with the right eyeshadow color and other things.
Since you are new to this, if you try too much at once, you likely won’t love the results and it could pull you down.
Just stick to this makeup routine and see how you like to make things work. I hope this helps you rock your makeup!
Now go and try, and lemme know how it works out for you in the comment box!